

BuyHome.ge
+995 595 33 78 33


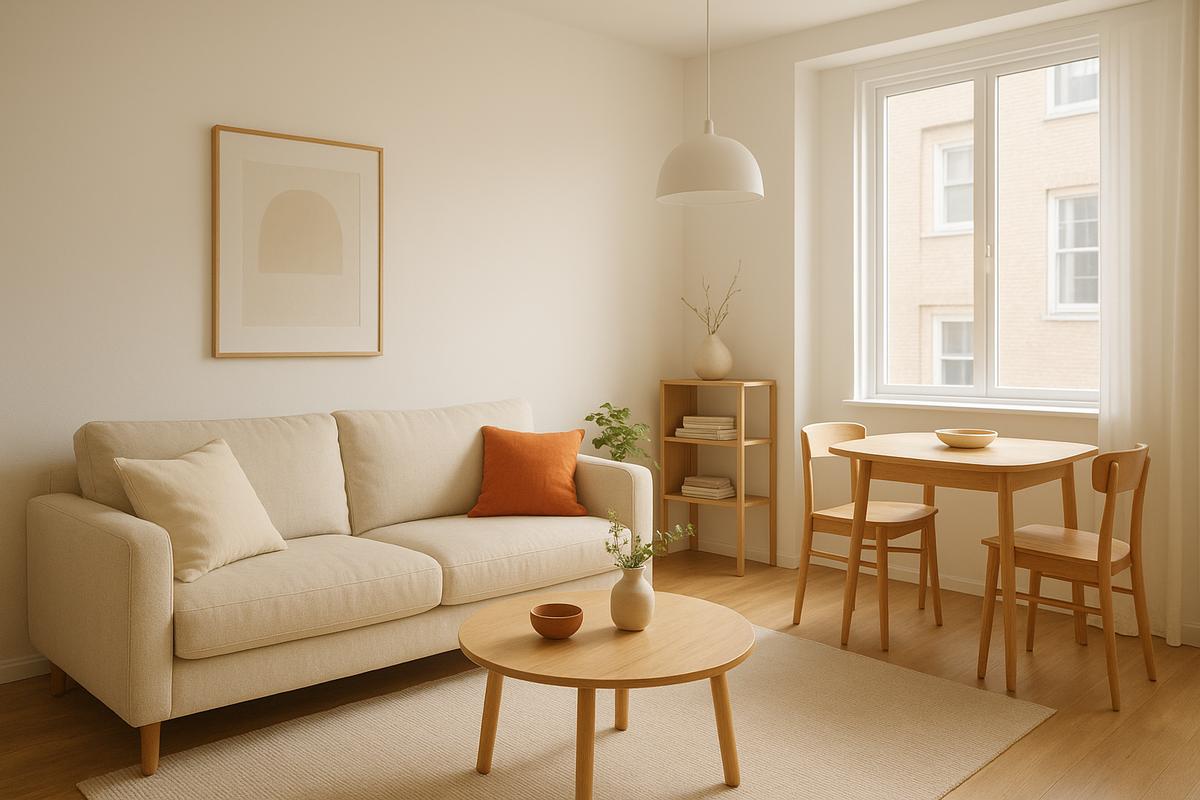
Post-Renovation Photo Shoot Prep: Checklist
Why post-renovation photos matter 📸
Photos are the first impression buyers or renters get. After renovation you want images that show the quality of finishes and the feeling of the space, not the dust or leftover materials. Well-prepared photos help listings stand out and reduce time on the market.
Set the goal and mood 🧭
- Clarify purpose: sale, rent, or contractor portfolio.
- Aim for a neutral, bright mood that appeals to most viewers.
- Consider the target audience: buyers look for quality and layout; renters look for comfort and convenience.
Checklist before the shoot ✅
Cleaning and decluttering 🧽
- Deep-clean all surfaces: new fixtures and fittings show dust easily.
- Remove construction debris, packaging, tools and paint cans — small items distract on photos.
- Freshen and steam pillows, curtains and throws so textiles look crisp.
Touch-ups and cosmetic fixes 🔧
- Conceal minor marks from finishing work: clean grout lines and smooth visible caulk.
- Temporarily hide any remaining imperfections with tasteful decor.
- Check sockets, switches and doors; they often appear in shots.
Staging for appeal 🛋️
- Remove personal photos and sensitive documents.
- Add neutral textiles and a few accents: cushions, a vase, a well-placed book.
- Use rugs and throws to define zones and show scale.
Light and atmosphere 💡
- Shoot with natural light when possible: open blinds, use sheer curtains.
- Avoid mixed lighting with different color temperatures; aim for neutral or daylight bulbs.
- Have additional soft lights to fill shadows if needed.
Space planning and composition 📐
- Keep walkways clear and show the apartment layout.
- Arrange furniture to highlight function: dining by the window, living area facing a focal point.
- Fill empty corners with a plant or lamp to avoid dead space.
Shots to capture (suggested list) 📷
- Wide-angle corner shots to convey room size.
- Close-ups of materials and fixtures: tile, cabinetry, countertops.
- Views from circulation paths to show how spaces connect.
- Kitchen and bathroom photos that emphasize finishes and hardware.
Practical camera tips 📱📷
- Modern smartphones often produce excellent results if used with care and natural light.
- Use HDR mode to retain details in highlights and shadows.
- Shoot from a slightly elevated position to show proportions accurately.
- Avoid excessive wide-angle distortion that elongates furniture.
Common mistakes and how to avoid them ⚠️
- Too many colorful accents can distract from finishes — keep a neutral palette.
- Leaving boxes or tools creates an impression of incompleteness.
- Strong reflections in mirrors and glossy surfaces can ruin a composition — cover or reposition them.
Final checks and calm approach 🕊️
Plan the shoot a few days after heavy work ends so surfaces settle. Do a quick proof set of shots and adjust lighting or staging before the final session. This prevents rushed reshoots and helps achieve consistent, professional photos.
Small staging tricks that work well 💡
- Include a human touch: a cup of coffee or a tossed book adds life without distracting.
- Use an object to show scale: a chair or plant helps viewers evaluate dimensions.
- Keep one focal texture or color per frame to highlight craftsmanship.
If you need help preparing a property and arranging photography after renovation, our agents at BuyHome can advise and coordinate everything to get the best listing photos. See apartment options here: https://buyhome.ge/en/apartments
Contact BuyHome — we’ll help you plan the photo session and present the apartment at its best.
Date added: 18.08.26
Related articles



Related categories

Renovation costs
A practical guide to apartment renovation costs in Georgia—labor and materials, timelines, common pitfalls, and how to control your budget.

Choosing a contractor
How to choose a renovation contractor in Georgia: where to look, what to verify, and how to control quality so you don’t lose time or budget.

Interior
Interior trends in Georgia, layouts, and practical apartment solutions: how to choose a style, plan zones, and create a design that works for living or renting.
Benefits of buying property on BuyHome.ge

Best property prices
No commission for buyers
Up-to-Date Properties on the Website
Free property selection
Free transaction support
Free expert consultations

Submit a Request
for a Consultation!

2026 © All rights reserved