

BuyHome.ge
+995 595 33 78 33


Preparing the Apartment for a Photo Shoot After Renovation: Checklist

Preparing the Apartment for a Photo Shoot After Renovation: Checklist
Preparing an Apartment for Photos After Renovation: Checklist 🏠📷
High-quality photos often decide whether a potential buyer clicks on a listing. Even a recent renovation benefits from thoughtful preparation. This checklist helps homeowners, agents, and investors present the space authentically and attractively.
Before you begin: set the goal 🎯
- Define the purpose: sale, rent, or promotional portfolio. Aim and styling will differ a little.
- Think of the typical viewer: a family, a young professional, or an investor? That affects staging choices.
- Plan to shoot during daylight hours when possible — natural light simplifies lighting decisions and looks natural.
Clean up and finish touches ✨
- Remove construction debris and traces of renovation: tape, dust, and adhesive remnants.
- Clean visible surfaces: floors, windowsills, tiles, and door handles.
- Put away tools, ladders, and visible extension cords.
Declutter: let the space breathe 🧹
- Clear countertops and shelves; minimalism helps emphasize space and finishes.
- Keep a few tasteful objects for warmth: a plant, a book, or a neatly folded throw.
- Store coats and shoes out of sight to keep entryways tidy.
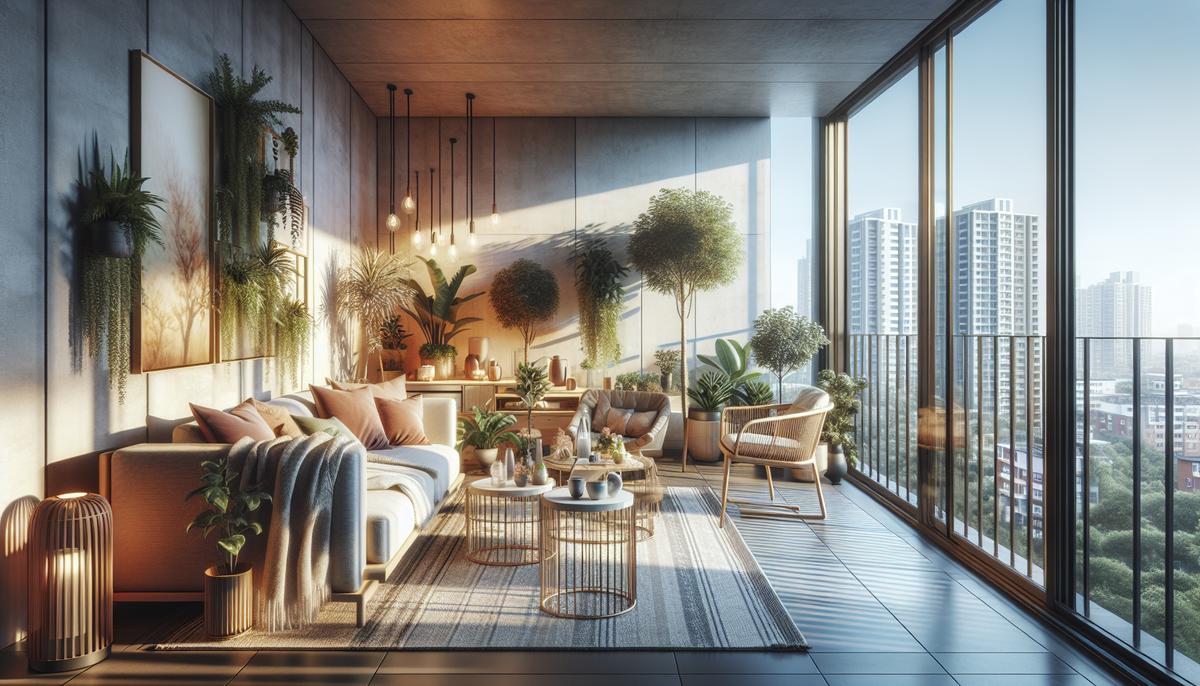
Staging and furniture arrangement 🛋️
- Arrange furniture to show clear circulation and the function of each room.
- Remove packing materials and protective film from new furniture; temporarily hide or cover pieces that look out of place.
- Use neutral textiles and small accents to make rooms feel lived-in but not cluttered.
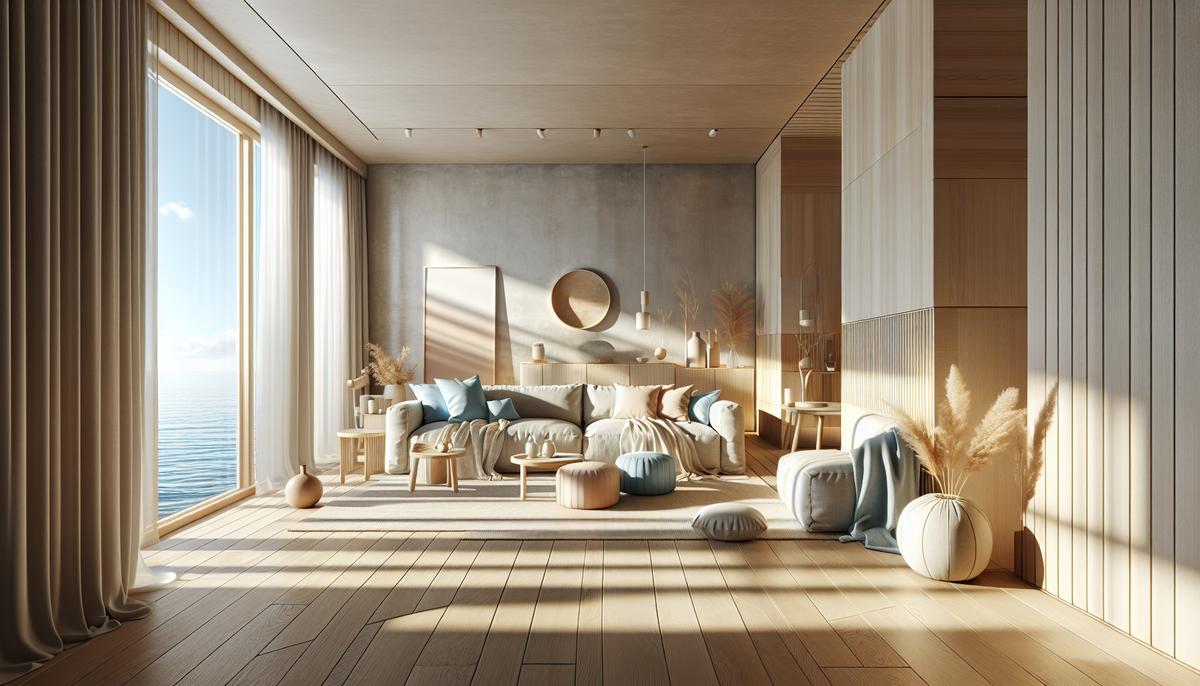
Light and windows 🌤️💡
- Clean windows to improve natural light and avoid spots in photos.
- Open curtains and blinds; filter harsh sunlight with light curtains if needed.
- Turn on all lamps to add warmth and balance shadows; avoid mixing very warm and very cool bulbs.
Colors and contrast 🎨
- Emphasize the strengths of your color scheme: light walls enlarge, subtle accents create interest.
- Avoid too many bright items that distract from the room’s layout.
Small details that make a big difference ✍️
- Wipe mirrors and glass without streaks.
- Smooth textiles and fluff pillows for a tidy look.
- Create a simple vignette: a vase with flowers, arranged books, or a neat towel in the bathroom.
Camera tips and practical shooting advice 📸
- Smartphone shooting: use HDR and lock focus on key areas for balanced exposure.
- Stabilize the camera with a tripod or steady surface to improve sharpness. Take multiple angles.
- Shoot from eye level and slightly up to show proportions and depth. Include shots from hallway, kitchen, and window views.
Editing and selecting photos 🖼️
- Pick images with natural light and straight lines; minor exposure and perspective adjustments often suffice.
- Keep color correction moderate to represent the property honestly and build trust.
Common mistakes and fixes ⚠️
- Visible clutter on counters. Fix: a quick basket to hide small items.
- Mixed lighting tones. Fix: choose similar bulb temperatures or correct in editing.
- Heavy editing that misrepresents the property. Fix: subtle enhancement only.
Practical staging examples
- For a sparsely furnished room, add a small table and chair to show use.
- In a narrow kitchen, clear all small appliances and leave a single decorative plate or plant on the counter.
Final notes and next steps ✨
Preparing an apartment for photos after renovation is mainly about presenting a clean, well-lit, and thoughtfully arranged space. Small efforts in styling and lighting dramatically improve the perception of size and quality.
Need help showcasing your renovated apartment? Start by browsing suitable properties or search for ideas: https://buyhome.ge/en/search
Contact BuyHome — we’ll help you choose the best approach to photographing and selling your property. 📩
Date added: 09.01.26
Related articles


Related categories

Renovation costs
A practical guide to apartment renovation costs in Georgia—labor and materials, timelines, common pitfalls, and how to control your budget.

Choosing a contractor
How to choose a renovation contractor in Georgia: where to look, what to verify, and how to control quality so you don’t lose time or budget.

Interior
Interior trends in Georgia, layouts, and practical apartment solutions: how to choose a style, plan zones, and create a design that works for living or renting.
Benefits of buying property on BuyHome.ge

Best property prices
No commission for buyers
Up-to-Date Properties on the Website
Free property selection
Free transaction support
Free expert consultations
Submit a Request
for a Consultation!

2026 © All rights reserved